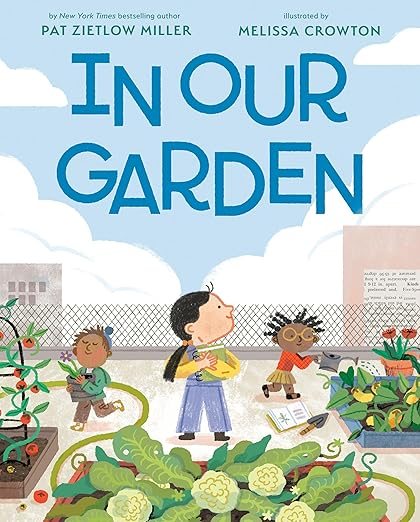
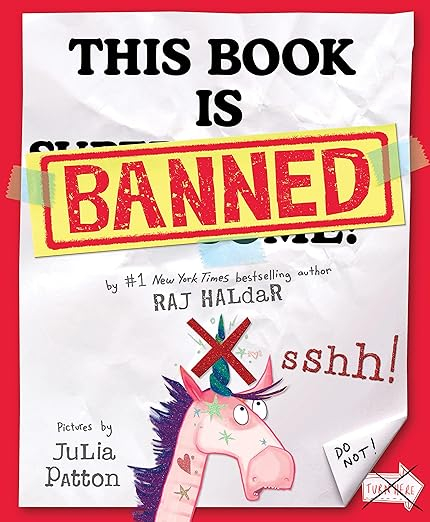
I remember I was doing my annual author visit at a particular elementary school and a young woman came up to me, gushing! “OMG! I remember when you came to our kindergarten and I was so excited to meet a real-life author!” Did it make me feel old? YES. Did it make me feel like I created something in this world I could be proud of? Also YES.
So, fellow book lover, if you’ve ever dreamt of creating a children’s book, you’re in the right place. Not only is writing a children’s book a wonderful way to unleash your creativity, but it’s also an incredible opportunity to make a lasting impression on young minds. Today, I’ll walk you through the steps on how to make a children’s book, sharing some personal insights and tips along the way. Whether you’ve got a story bubbling up inside you or you’re just curious about the process, let’s dive in.
Why Make a Children’s Book?
Before we get into the nitty-gritty, let’s take a moment to reflect on why creating a children’s book can be so fulfilling. First off, there’s something magical about storytelling—it’s a powerful way to connect. Whether with adults or kids, you can inspire imaginations, and writing a children’s book allows you to explore your artistic side, creating a seamless, engaging narrative. The feeling when I finally get it right is one of the most satisfying feelings. (Until the next draft!)
For aspiring authors, creating a children’s book can also be a stepping stone into the world of publishing. It’s a fantastic way to build your portfolio and establish your brand. But most importantly, as my Picture Book Summit cofounder, Emma Walton Hamilton eloquently puts it, “Children’s books are the keys that unlock a child’s world to the imagination.” Check out her resources for writers for more inspiration.
Step-by-Step Guide to Making a Children’s Book
1. Choose Your Target Audience
Start by identifying the age group you’re writing for. Are you targeting toddlers, preschoolers, early readers, middle grade, young adult? Each group has a unique set of needs and interests. For example, board books for toddlers typically contain simple text and vibrant illustrations, while books for older children will feature more complex narratives.
2. Craft Your Story
Once you’ve nailed down your audience, it’s time to brainstorm your story. Consider themes that resonate with children, such as friendship, adventure, or overcoming fears. But do not lecture! The lesson must come naturally, without finger-wagging. Don’t forget, every good story should have a clear beginning, middle, and end, with compelling characters and a positive message.
3. Create Engaging Characters
Children love relatable characters. Think about creating memorable protagonists. I like to think of quirky and unique characteristics that kids can connect with. When you give your characters unique traits and personalities it will help them stand out in young readers’ minds.
4. Illustrate Your Story?
If you’re hoping to get traditionally published (meaning by one of the established publishers), then you do not need–and should not–include illustrations unless you are a professional illustrator. If you’re self-publishing, remember, picture book illustrations are just as important as the text. They help bring the story to life and engage young readers. My favorite books are ones where the illustrations are telling their own, parallel story. If you’re not an artist, you’ll need to collaborate with an illustrator. Respect the talent: pay market rates.
5. Design Your Book
I don’t recommend self-publishing a picture book. It’s really hard to get any traction, it can be expensive because you’ll need to hire an editor, a copyeditor, and an illustrator, assuming you’re not a professional artist. You’ll need to market it yourself, which is also a ton of work. BUT! If you’re creating this book to share with friends and family, by all means, go to town! You’ll need to design your book. But how? You can create a cohesive and visually pleasing layout using tools like Canva or Adobe InDesign are great for ebook creation, while Blurb offers a platform for self-publishing. If you’re looking for inspiration, check out platforms like Lulu for design ideas.
6. Edit and Proofread
No first (or second, fifth, or even tenth!) draft is perfect, and it’s crucial to polish your manuscript before publishing. If you don’t and you’re self-publishing, you’ll get bad reviews. People definitely notice the mistakes or bad design, typos, and punctuation errors and will have no problem calling you out! As I said above, consider hiring professionals: editors, copyeditors and professional illustrators. Pay attention to grammar, spelling, and consistency in both the narrative and illustrations.
7. Publish and Market Your Book
If you’re going the self-publishing route, platforms like Amazon KDP and Blurb can help you reach a broad audience. Don’t forget to market your book—use social media, book fairs, and local events to spread the word. Building a community around your book will help it reach its intended audience.
Frequently Asked Questions
How much does it cost to make a children’s book?
The cost can vary greatly depending on the route you take (traditional publishing vs. self-publishing) and whether you hire professionals for editing and illustrating.
Do I need to hire an illustrator?
Not necessarily. If you are a professional illustrator and have the artistic skills, you can illustrate the book yourself. If you’re hoping to traditionally publish, you’ll create a book dummy using industry standards (32 pages, 500 words, etc.) However, if you’re self-publishing, hiring an illustrator will elevate the quality of the book, especially if you’re targeting competitive markets.
Creating a children’s book is a rewarding journey, and you can touch the lives of countless young readers. If you’re interested in learning more about writing and publishing books, check out the resources for writers on my website. Happy writing!


