Thinking of writing a children’s book? Well, you’re in the right place! Creating a children’s book can be both an exhilarating and rewarding experience, even if it might seem a tad intimidating at first. Just imagine the delight in a child’s eyes as they read your story! Here we’ll go through some handy tips and steps to help you on this creative journey.
Step 1: Decide on a Story Idea
Wait. That’s not actually right. Your first step is reading as many books in the genre that you can find. Read books published within the last 2-4 years or so. You want to know what is good? Find books at your local library and bookstore, and read every single one. Those published by major, traditional publishers will have gone through a detailed editing process, so you can trust that they’re good as mentor texts.
Step 1a, shall we say, is finding the perfect story idea is like setting the cornerstone of a building—it’s foundational. Start by considering what you love or what you’re passionate about. Are there childhood memories that still warm your heart? Or perhaps there’s a moral or a lesson you want to share. Remember, your enthusiasm shines through your writing and makes it more engaging for young readers.
Try brainstorming sessions or mind mapping to unlock your creativity. Sometimes the simplest ideas make the best stories.
Step 2: Develop Your Characters
Characters are the heart and soul of a children’s book. They should be relatable, memorable, and evoke emotions. Consider creating character sketches or profiles to flesh out their personalities, motivations, and quirks. Ask yourself questions like: What are their strengths? Their weaknesses? What makes them tick? These aren’t things you necessarily need to include in your manuscript, but YOU need to know them. It will help you sculpt your story.
For example, in workshops I’ve conducted, we often brainstorm and plot characters and how they grow. Every character needs that arc, so do they start out fearful and are brave by the end…or are still fearful, but behave bravely? What kinds of challenges and adventures will they experience? It could be as simple as the adventure of going to school for the first time. It’s all about creating a connection between your characters and your readers.
Step 3: Structure Your Story
A solid structure is key to a compelling story. Typically, a narrative children’s book will follow a simple arc with a clear beginning, middle, and end. Start with setting the scene and introducing the conflict early to grab attention. Then, let your characters navigate obstacles and ultimately find resolution (all while keeping it under 500 words).
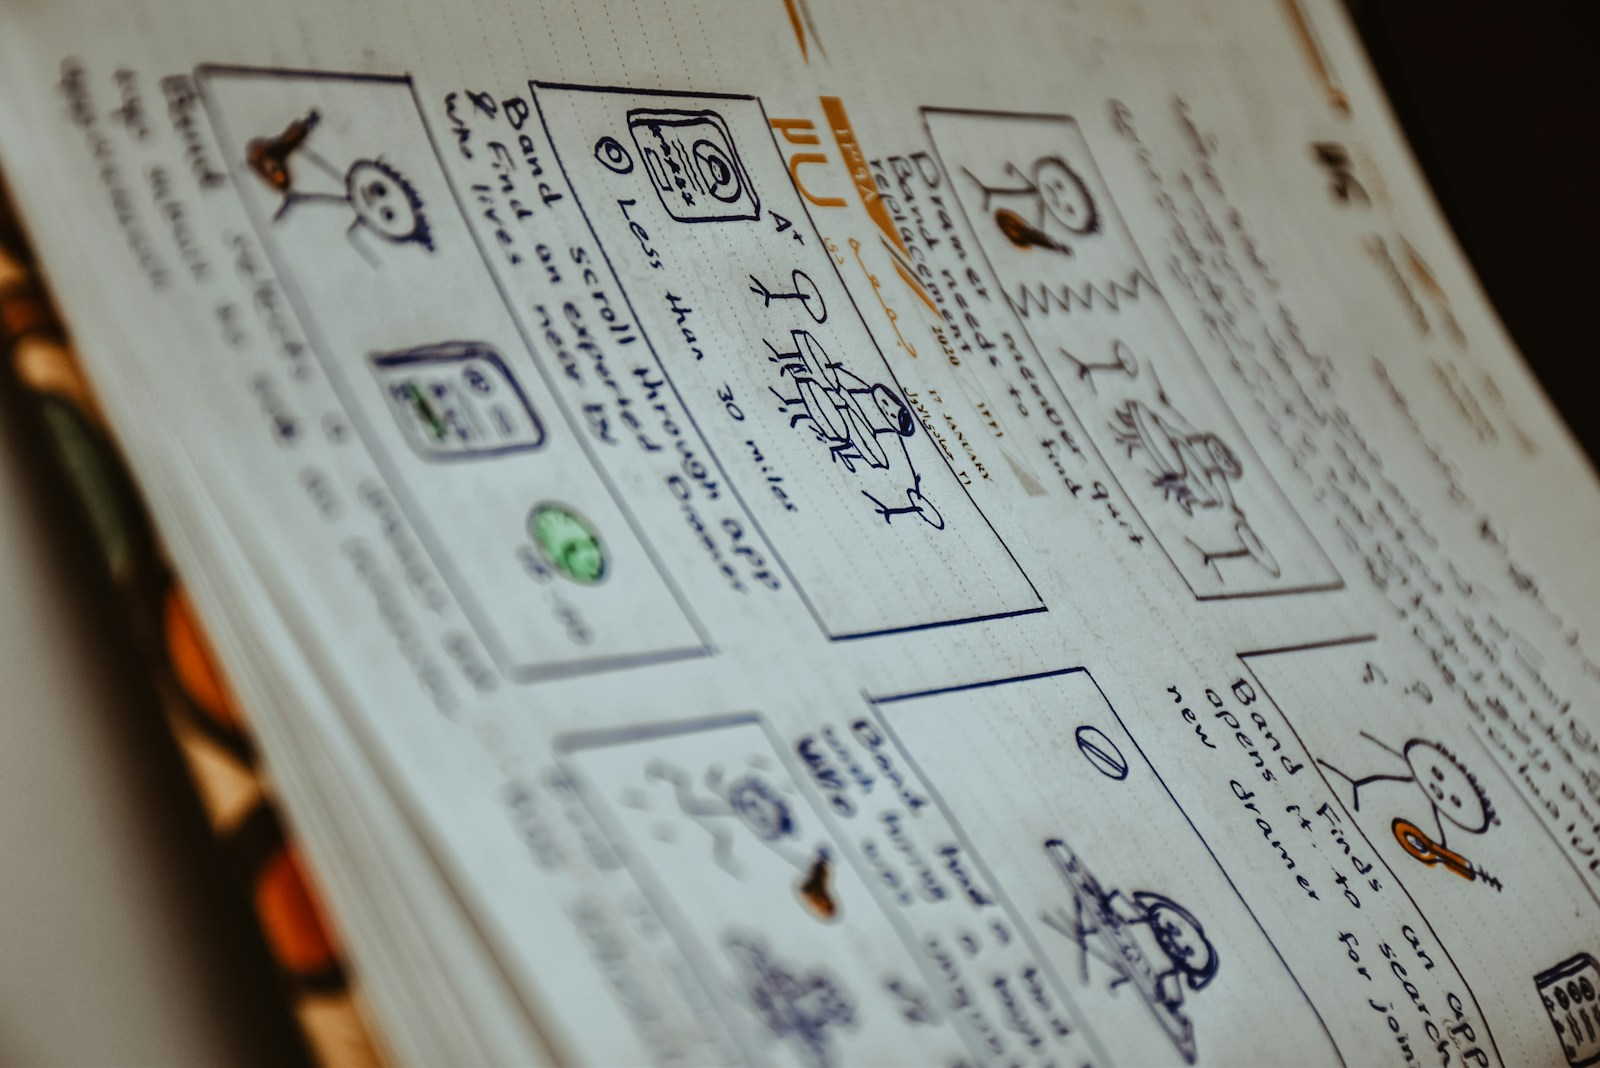
To aid your structure, consider using storytelling frameworks or storyboards. It’s like having a road map to guide your creative process.

Step 4: Write with Style
The writing style for children’s books is unique, often characterized by simple yet effective language. Keep sentences concise and rhythmic. If you plan to incorporate rhyme, make sure there is a reason to do that. And also make sure you know how to rhyme. If you know all the rhyme rules, you’re good to go. My Picture Book Summit cofounder, Julie Hedlund did an amazing presentation a few years ago all about that exact thing. Use dialogue that reflects real conversations kids might have, and don’t shy away from humor!
Step 5: Illustrate Your Story
Illustrations are an integral part of a children’s book, and they often tell their own story alongside the text. Parallel stories are my favorite thing to do. For example, in my book, Kindergarten Rocks! there is a page where the character, Dexter Dugan, says he’s super excited about going to kindergarten. But the image is his sister dragging him into the school. It allows for more depth in the book, with a little humor, to boot.
If you’re self-publishing, you can choose to collaborate with an illustrator if you’re not a professional illustrator. But keep in mind that selling self-published picture books is not for the faint of heart! Whether you’re doing the drawing or working with an artist, illustrations should complement the text and enhance the storytelling experience.
Step 6: Revise and Edit
The first draft is just the beginning. Editing your manuscript is crucial to ensure clarity and flow. Look out for grammatical errors, awkward phrasing, and areas that could benefit from tighter prose. Get feedback from peers or beta readers; fresh eyes can offer new perspectives. Before any of that, however, read your draft aloud every time you work on it. Every. Time.
Remember, multiple drafts are normal. I often share early versions of my own works in workshops, pointing out the crazy number of changes to share the evolution of a story.
Step 7: Publish Your Book
Finally, it’s time to get your story out into the world! You can opt for traditional publishing, where a publisher handles editing, hiring the illustrator, the production, and distribution, or choose the self-publishing route to maintain control over the process.
For aspiring authors interested in self-publishing, platforms like Blurb and Amazon’s Kindle Direct Publishing are excellent places to start. They offer tools to design, print, and sell your book online, giving you the freedom to bring your vision to life.
FAQs
- What age group should I write for? – Identify your target audience before you start writing. Picture books are typically for ages 3-7, while chapter books (or novels) cater to 7-12 year olds.
- How long should a children’s book be? – Picture books generally are 32 pages and 500 words, though sometimes longer, whereas chapter books can be longer depending on the targeted age group.
- Do I need an agent? – While not mandatory, having an agent will absolutely help navigate traditional publishing processes and negotiate contracts.
Feeling inspired yet? I hope these steps help you navigate the creation of your children’s book. Remember, persistence and passion are your best companions on this journey. Happy writing!


